Sunday, December 30, 2012

Special Delivery


Just in time for New Year's we got this very special delivery. She is quite the ham!

Tuesday, December 25, 2012

Merry Christmas!


From our family to yours, wishing you a very Merry Christmas!

Love,
Rice Pot Mama

Sunday, December 23, 2012

Gingerbread Cookies

I love gingerbread cookies but I'm very particular about them. Typically gingerbread cookies are crisp or hard. I like them moist. I found this recipe from Cook's Illustrated and new I had to try it. Their recipes usually turn out wonderfully so I knew it would be good, but it turned out great!


Start by putting your dry ingredients into a food processor fitted with the steel blade. Pulse for about 10 seconds until combined.

 
Add the butter pieces on top and pulse for another 10-15 seconds until the mixture is very fine...
 

It should look like sand with no big chunks.

 
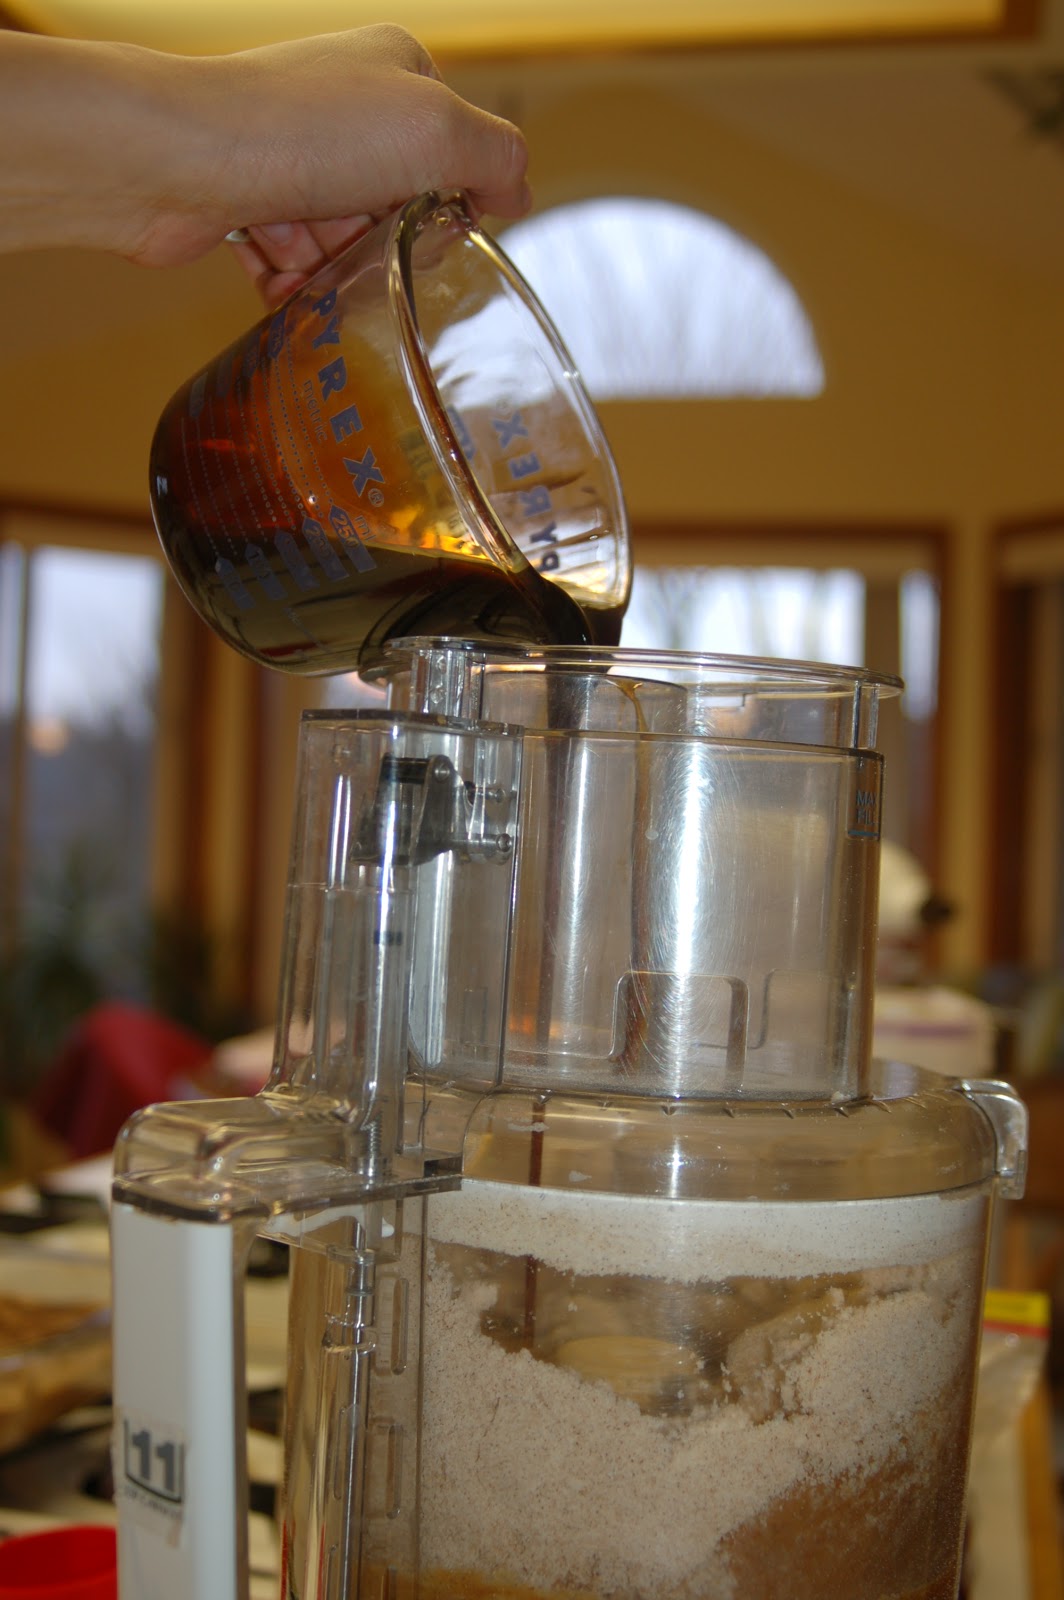
With the machine running, pour in the wet ingredients.
 

The mixture should start to form a ball of dough. It will be a bit wet and shaggy.

 
Roll the dough a few times and it will become more cohesive. You don't need to add flour as the dough will not stick too much. Plus adding flour will give your cookies a white powdery sheen that you don't want.
 

Cut the dough in half and work one portion at a time. Place the dough between two sheets of parchment and roll until 1/4-inch thick. Leave dough between parchment and freeze until firm for 15-20 minutes. The chilled dough will help your cookies from tearing or loosing shape. Be sure to have a handsome assistant to help!

 
Pull the top parchment off, gently lay back in place, flip the dough over and peel off the second parchment layer. Cut out your cookies.
 
 
Place cut cookies onto a cookie sheet lined with parchment or a Silpat.


Bake two sheets at 350 degrees for 8 minutes, rotating the cookie sheets front to back and switching positions from top to bottom halfway through the baking time. Let the cookies cool for 2 minutes before moving to a wire rack to cool completely. Frost when completely cool.

Gingerbread Cookies

Ingredients:
3 c. flour
3/4 c. firmly packed dark brown sugar
1 T. ground cinnamon
1 T. ground ginger
1/2 t. ground cloves
1/2 t. salt
3/4 t. baking soda
12 T. unsalted butter, cut into 12 pieces and softened slightly
3/4 c. unsulphured molasses
2 T. milk

Directions:In a food processor fitted with a steel blade, process flour, sugar, cinnamon, ginger, cloves, salt and baking soda until combined, about 10 seconds. Scatter butter pieces over flour mixture and process until mixture is sandy and resembles a very fine meal, about 15 seconds. With machine running, gradually add molasses and milk; process until dough is evenly moistened and forms soft mass, about 10 seconds.

Scrape dough onto work surface; divide in half. Working with one portion of dough at a time, roll 1/4-inch thick between two large sheets of parchment paper. Leaving dough sandwiched between parchment layers, stack on cookie sheet and freeze until firm, 15 to 20 minutes. (Or refrigerate 2 hours to overnight.)

Adjust oven racks to upper-middle and lower-middle positions and heat oven to 350 degrees. Line two cookie sheets with parchment paper.

Remove one dough sheet from freezer; place on work surface. Peel off top parchment sheet and gently lay it back in place. Flip dough over; peel off and discard second parchment layer. Cut dough into 5-inch gingerbread people or 3-inch gingerbread cookies, transferring shapes to parchment-lined cookie sheets with wide metal spatula, spacing them 3/4-inch apart; set scraps aside. Repeat with remaining dough until cookie sheets are full. Bake cookies until set in centers and dough barely retains imprint when touched very gently with fingertip, 8 to 10 minutes, rotating cookie sheets front to back and switching positions top to bottom halfway through baking time. Do not over-bake. Cool cookies on sheets 2 minutes, then remove with wide metal spatula to wire rack; cool to room temperature.

Gather scraps; repeat rolling, cutting, and baking in steps 2 and 4. Repeat with the remaining dough until all dough is used.

Wednesday, December 19, 2012

Pistachio Shortbread Cookies


I love shortbread cookies. Buttery and crisp. This recipe is so yummy and easy compared to many shortbread recipes. The best part is that one recipe makes almost 60 cookies! These cookies are seriously addictive...you have been forewarned!

 
Mix flour, powdered sugar, and salt in a food processor.
 

Cut unsalted butter into 1/2-inch cubes. Add to the food processor.

 
Also add in the pistachios, egg yolk and vanilla.
 

Pulse until a moist ball forms. This is mixed, but not a ball. Keep pulsing!

 
Here we go! This is what we are looking for!
 

Divide the dough in half and form each dough half into an 8 x 1 1/4-inch log. Wrap in plastic and refrigerate until firm, about 4 hours.

 
Once firm, cut into 1/4-inch thick rounds and bake for 18 minutes in a 325 degree oven. These cookies stay fresh in an airtight container for up to 4 days.
 
Note you can freeze the dough once shaped into logs and simply cut and bake when you need some cookies. Or you can freeze the baked cookies. They seem to retain their flavor for up to 2 months in the freezer. 
 
Pistachio Shortbread Cookies
 
Ingredients:
 
1 1/2 c.flour
1/2 c. plus 2 T. powdered sugar
1/2 t. salt
3/4 (1 1/2 sticks) chilled unsalted butter
1/2 c. unsalted roasted pistachios
1 large egg yolk
3/4 t. vanilla extract
 
Directions:
 
Mix flour, powdered sugar, and salt in a food processor. Cut butter into 1/2-inch cubes. Add butter, pistachios, egg yolk, and vanilla. Using on/off turns, mix until moist ball forms. Transfer dough to work surface. Divide dough in half. Form each dough half into 8x1 1/4-inch log (if dough is too soft, chill until firm, about 30 minutes). Wrap logs in plastic; refrigerate until firm, about 4 hours.
 
Preheat oven to 325 degrees. Slice logs into 1/4-inch-thick rounds, rolling log after every few slices to retain round shape. Place rounds on ungreased baking sheets, spacing 1 inch apart. Bake shortbread until barely golden, about 18 minutes. Cool shortbread on baking sheets.

Sunday, December 16, 2012

Santa


We took our kiddos to a Christmas party where the big jolly fellow in red came and gave each kid a toy. Nate loved it and ate every moment up. He was the first kid on Santa's lap.


Gabby was not quite sure and was the last kid in line. She kept looking at Santa with a look that said, "what's up with the beard?"

 
Not liking it too much here, but at least mom's here and I have a candy cane in my mouth that I stole from another little girl at the party.
 

Wha-aat? Mom, you are leaving? And laughing?

 
Waaaaaaah! Come back!
 
We've been going to the same Christmas party each year. Our kids are definitely the youngest in attendance. At least one of them has cried every year. One fellow party-goer made the comment "It wouldn't be a Christmas party without a Simnitt kid crying about Santa." Yeah, we are that family.

Wednesday, December 12, 2012

Pomegranates


First off, a disclaimer. I got a Smart phone and decided to try to use the camera on it for this post. As you can see my camera phone skills are sadly lacking and these pictures are a bit fuzzy. Sorry!

Pomegranates are one of those Winter fruits that are fun but you can't quite figure out how to get those juicy little seeds (arils) out without making your hands stained red. I read about a method that will get the little ruby red gems out whole without getting your fingers dirty and thought I would give it a try.

 
Start by cutting the fruit in half.
 
 
Turn the fruit upside down (cut-side over a bowl) and hit the opposite side repeatedly with a wooden spoon. The little juicy seeds will come flying out! There is a bit of juice splatter so it would be wise not to wear anything white while doing this!
 
 
As you can see you will have an empty pomegranate shell...
 
 
and a full bowl of seeds ready to eat!


Sunday, December 9, 2012

Hawaii Crazyness


One day while in Hawaii all of Jim's nieces and even our kiddos decided to bury Chris in the sand. Once he was buried they realized he was at their mercy so made him into a mermaid. He makes a lovely one, don't you think?

Thursday, December 6, 2012

Rainbow State


We just returned from a two week long vacation to Hawaii. Escaping the cold and wet weather here in Oregon was blissful. The first week was spent on Maui with the hubby's family to celebrate the 50th wedding anniversary of his folks. 17 of us in a big house. Pure fun.

 
Our days were simple. We went to the beach in the mornings, got back to the house for lunch and naps, lounged by the pool in the afternoons and ate an early dinner so there was time for games and fun before going to bed early.
 
 
The second week we traveled with my in-laws to Kauai where we met my parents and older sister. The weather wasn't nearly as warm as Maui but we could still wear shorts (my family who is from Southern California thought it was chilly and wore pants and long sleeved shirts the entire time...inconceivable!). Here our days were even simpler and our greatest quandary of the day was where to eat dinner.
 
It was a memorable vacation but like the song says..."there's no place like home for the holidays."

Sunday, December 2, 2012

Blogs I Love

Before I started to blog I followed several. Part of me feels like it is weird to follow the lives of people you don't know but another part of me is so entertained! A large number of the blogs I follow are cooking/baking blogs. I can't seem to get enough! Here is a list of my favorites:

Wednesday, November 28, 2012

Roasting Chestnuts


Chestnuts roasting on an open fire... I don't know about you but I never really thought about the words to that famous Christmas carole until my hubby's family introduced me to this awesome nut. There used to be a few chestnut trees at a local park. Each Fall I would head over and pick up the nuts from their prickly coverings. Sadly those trees were chopped down a couple of years ago. Luckily Frank the farmer has some trees and has shared his bounty with us. We've never roasted chesnuts over an open fire but do roast them in the oven. It's a bit labor intensive at times to get the nuts out as the skin can sometimes stick, but it is well worth the effort!
 
 
Start by scoring an "X" on the outer shell.
 

Bake in a 350 degree oven for 25-35 minutes, or until the outer shell starts to peel away.

 
Allow to cool or you will burn your fingers. These little guys really retain the heat! Once cool, remove the outer shell and the inner papery skin.  The inner papery skin is what sometimes sticks and is a pain to get off. When you get a perfectly peeled nut, it is a great accomplishment (at least for me).
 

Usually they break a part a bit but they still taste great! Sweet, soft and like the Fall.

Sunday, November 25, 2012

Art Project #4


For my last art project I wanted to do a little cartoon for the kiddos bathroom. My friend Amanda's dad got me this hilarious t-shirt from a coffee shop in Corvallis. Being originally from there, I instantly loved the word play about a dinosaur from Corvallis and the location "Corvallis, OR, US".


I decided to do something similar for my 4th art project. I Googled some dinosaur cartoons and attempted to draw something recognizable as a dinosaur and put him in an Oregon State t-shirt.

 
It isn't fine art by any means but fits the kids' bathroom perfectly!

Thursday, November 22, 2012

Happy Thanksgiving!


Wishing you and your family a very Happy Thanksgiving!

Love,
Rice Pot Mama

Tuesday, November 20, 2012

Thank you.


Two simple words. Thank you. So easy to say but not said often enough.

Thank you cards are something that we didn't do growing up but something I have come to appreciate as an adult. My friend Holly is the queen of thank you cards. She writes them for everything and somehow makes them personal and touching without getting sachrine.


When I get a thank you card that I know took effort and thought, it means so much. I am working on my thank you card writing skills but have also come to appreciate the beauty of some store bought thank you cards.

 
These are a couple my Auntie Bonnie gave me. Aren't they cute?

Sunday, November 18, 2012

Butterfinger Peanut Butter Cookies


We have a large amount of left over Halloween candy so I've taken to baking with it. We've chopped up Reece's Peanut Butter Cups and put them on top of cupcakes, substituted chopped up Snickers for chocolate chips in cookies, and put mints into brownies. I found this Butterfinger Cookies recipe from My Baking Addiction blog and knew I had to make them.

I switched things up a little bit and added chopped Reece's Peanut Butter Cups too. I think my ratio was about 1 1/2 cups Butterfinger and 1/2 cup of Reece's. The cookies were soft and chewy and stayed moist for the entire week. We'll be making these again soon! 

Butterfinger Peanut Butter Cookies

Ingredients:

1/2 c. unsalted butter, softened
3/4 c. white sugar
2/3 c. firmly packed light brown sugar
2 egg whites
1 1/4 c. smooth peanut butter
1 1/2 t. vanilla extract
1 c. flour
1/2 t. baking soda
1/4 t. salt
2 c. candy bars, chopped

Directions:

Preheat oven to 350 degrees F. Line baking sheets with parchment paper or silicone baking sheets.

In the bowl of a stand mixer fitted with the paddle attachment or in a large bowl with an electric mixer, cream the butter and sugars together until light and fluffy. Add the egg whites and beat well. Beat in the peanut butter and the vanilla, mixing until well combined.

In a small bowl, combine the flour, baking soda, and salt. Add the dry ingredients into the creamed mixture and mix until just combined. Stir in the chopped candy bars.

Using a medium cookie scoop (about 1 ½ tablespoons) shape dough into balls and place on the prepared baking sheets.

Bake in preheated oven for 10 to 12 minutes or until golden brown. Remove cookies from oven and allow them to cool for about 5 minutes on the cookie sheet before moving them to a cooling rack.

Friday, November 16, 2012

Art Project #3


For our third art project we decided to make our version of a Jackson Pollack painting. We stripped the kiddos down on one of the last warm days of the Summer and let them loose with paints and a large canvas. Afterward Jim and I took paint brushes and splattered away.


The kids loved it! They used brushes.


They used their hands.


And played with mixing colors.


It was messy and fun and a great piece of artwork in our kitchen. Though it did degenerate for Jim and Nate into a fight to paint each others bodies instead of the canvas. 


The best part is that I can tell who did what part of the painting. Gabby did the big smears.

 
Nate did the strong brush strokes.
 

Jim and I did the paint splatters.

When the painting dried (took several days due to some super thick paint) I sprayed it with a sealant as we did use kid safe water based paints. It is obviously a kiddo painting but it was so much fun to make looking at it is a great reminder of that messy day!